

How to Setup Autoresponders
With BuyGoods, you can integrate our ClickCRM system automatically with your existing email auto-responder.
1. Go to the Setup tab and navigate to Autoresponders.
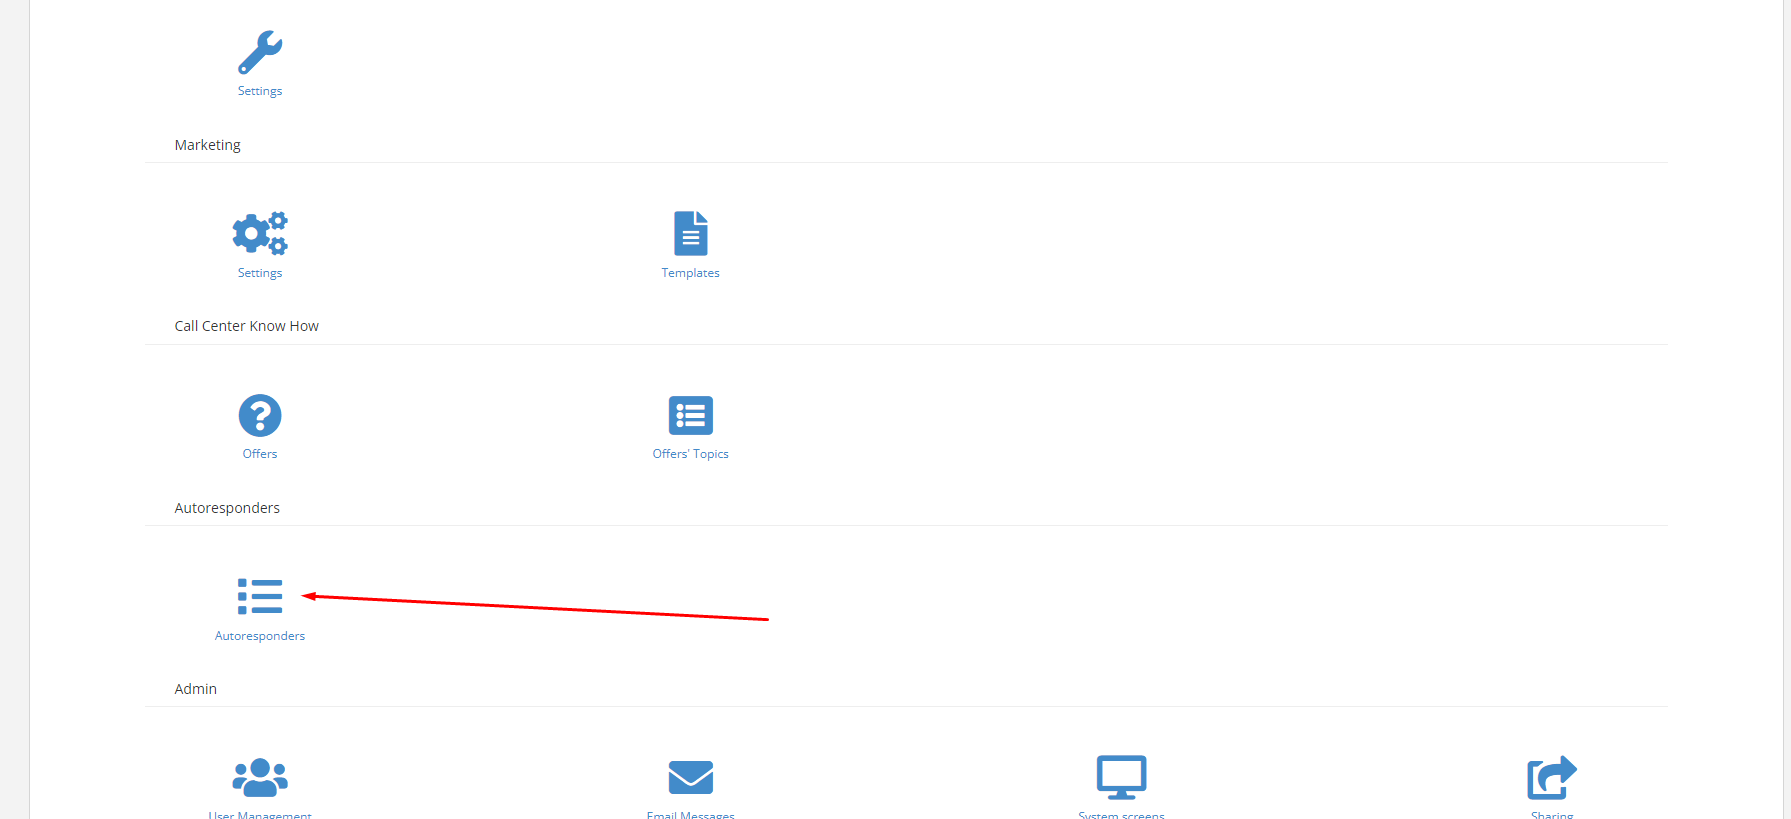
2. Click “Add New”

3. Select what platform to integrate with from the drop down menu
Here is a list of all that we currently integrate with. If you have questions about other services, please contact your account manager or business development manager.

4. Complete the information for whatever email service provider you select.
5. Test Autoresponder after completing the necessary details
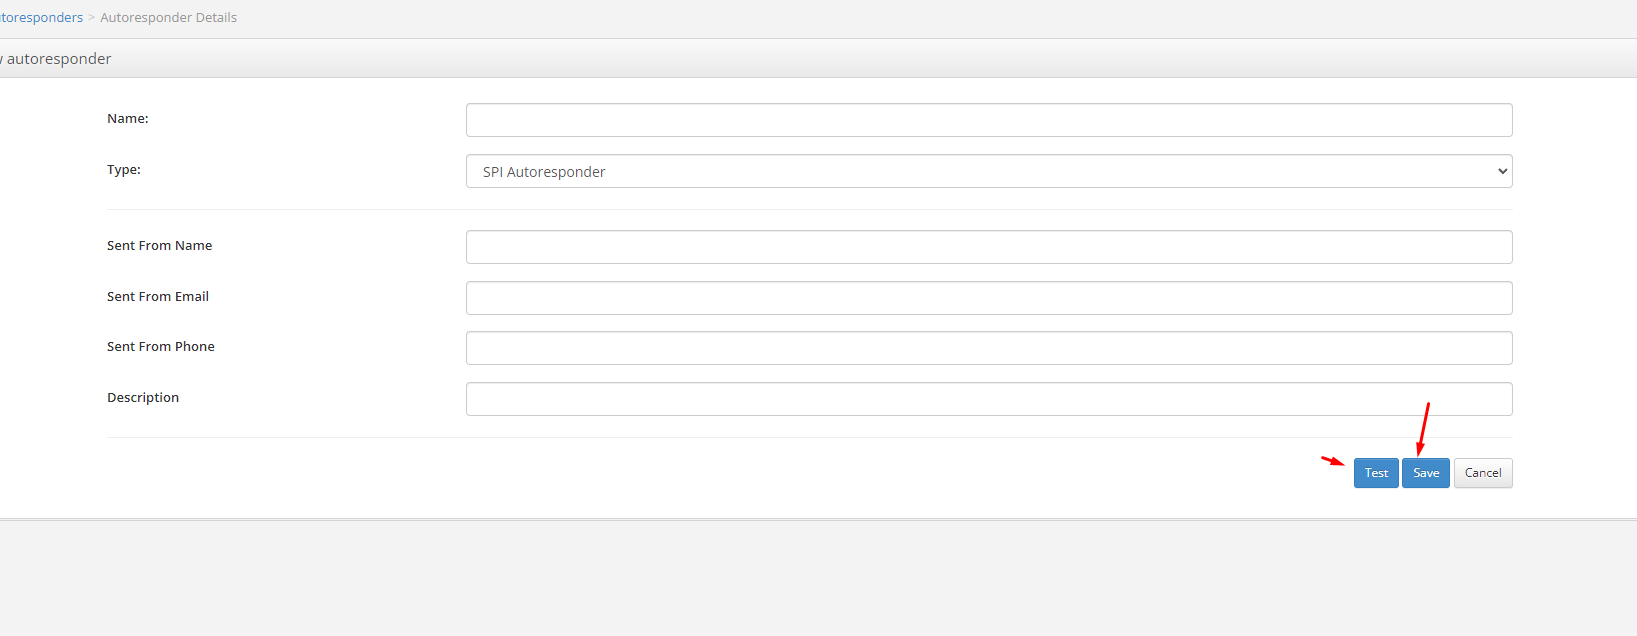
6. Save the autoresponder
7. Tag an autoresponder to a product
Setup > Product > Select Product
8. Click on the Email tab and select what autoresponder you want used for any of the given situations.
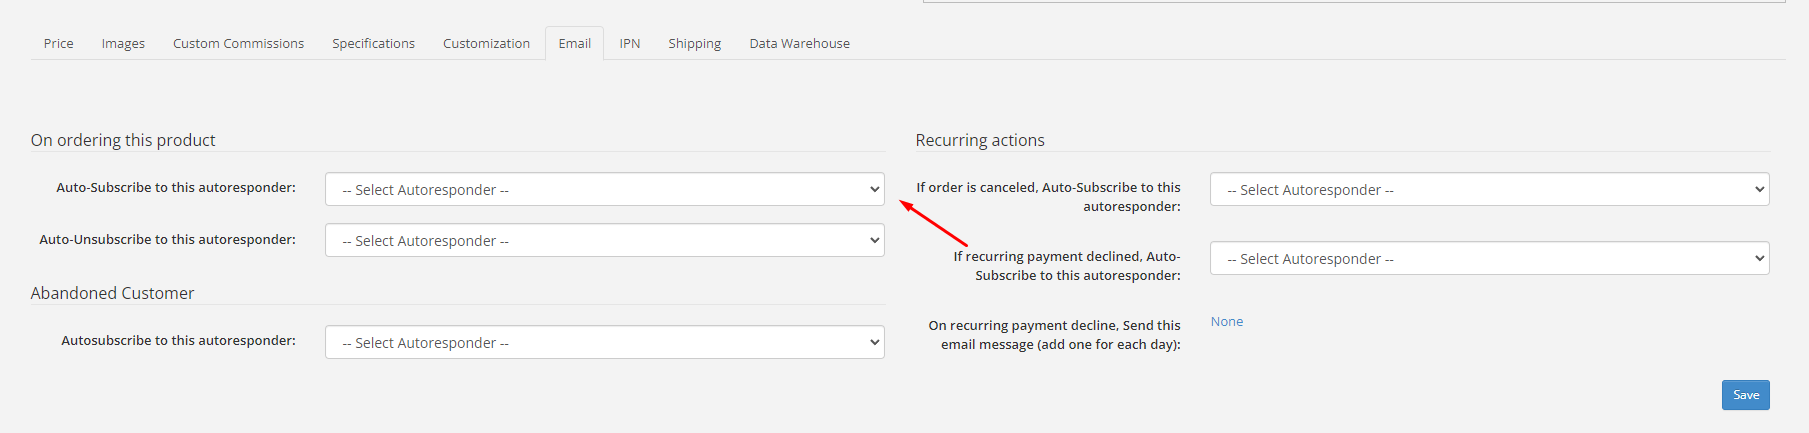
9. Hit save before leaving this screen.
If you have any more questions, please reach out to your Business Development or Account Manager.